DigitalSignage
📺 Simple self-hosted digital signage software for turning screens into beautiful content displays


Screenshots
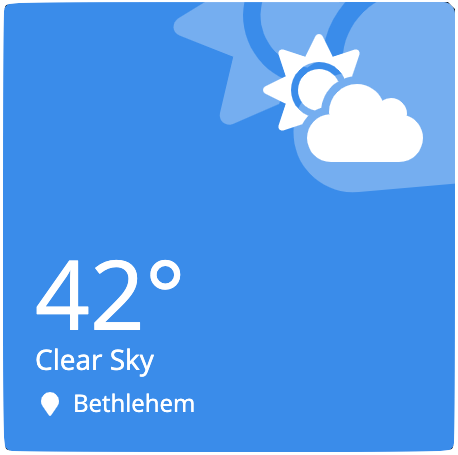
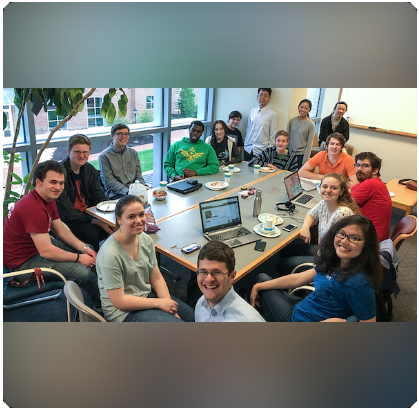
Digital Display Preview

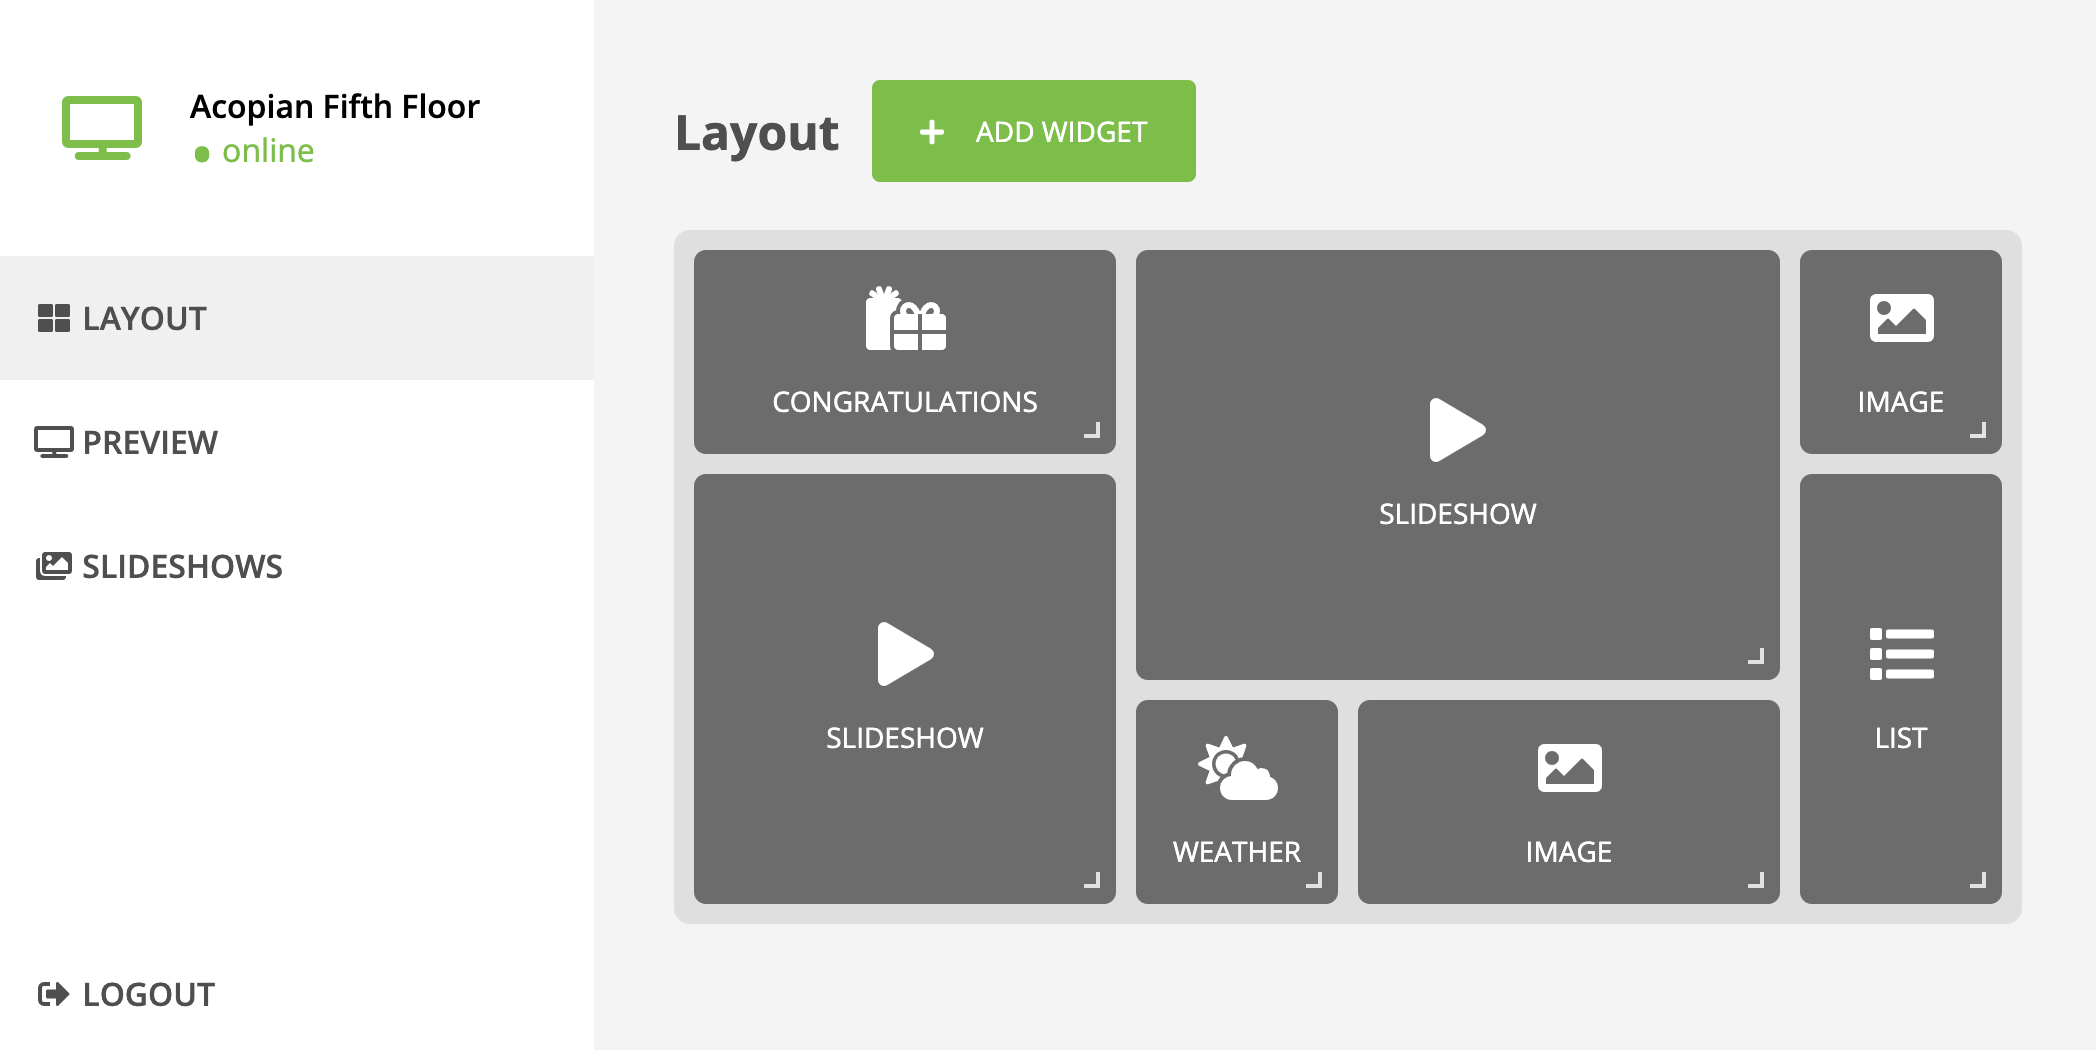
Administrator Panel: Changing the widget layout
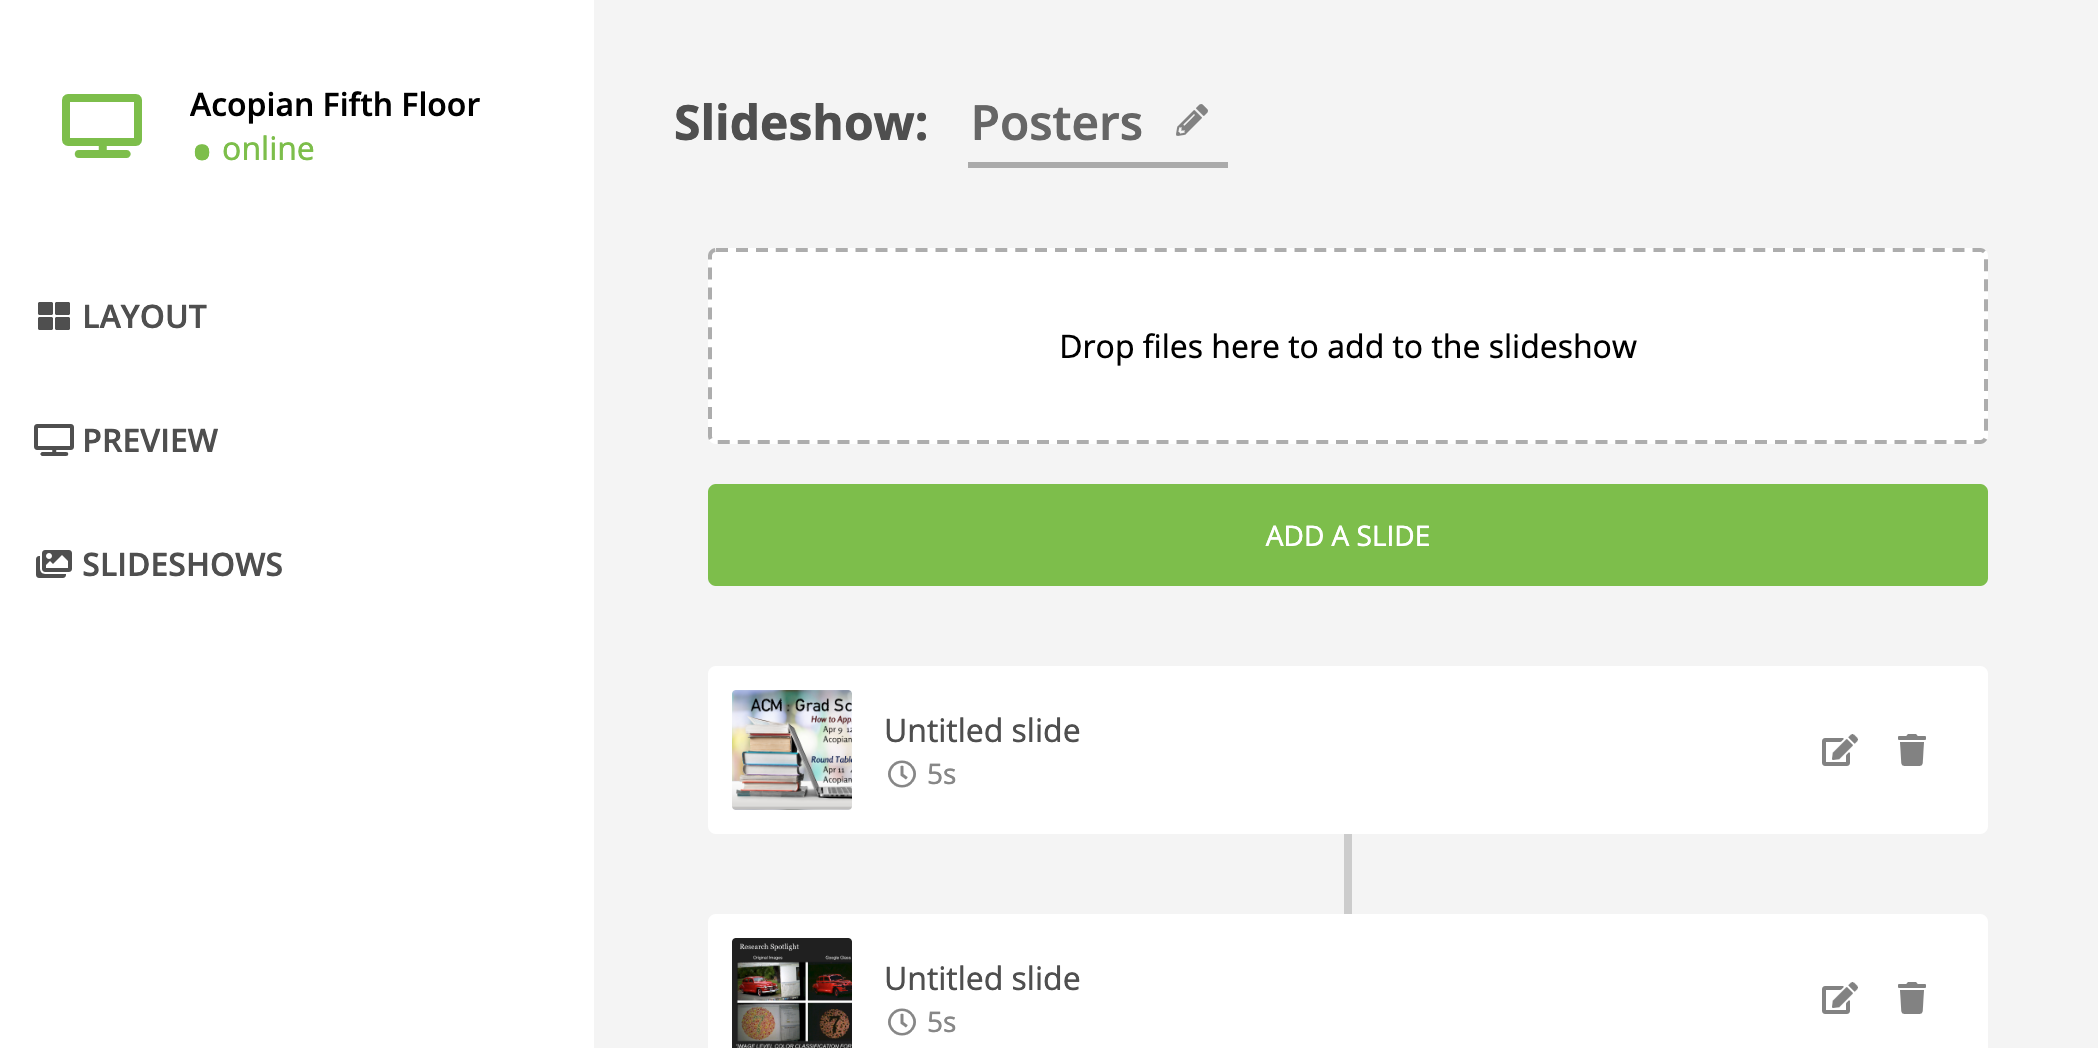
Administrator Panel: Slides inside a slideshow
Demo
Use the demo website at http://digitaldisplay.herokuapp.com (username: demo, password: demo)
How to Run:
-
Set up a MongoDB installation locally (or in the cloud) and create a
digitaldisplaydatabase -
Run the setup utility using
npm run setup
and specify the URI to your database.
- Install dependencies and run the program
npm install
npm run dev
Updating the software
Assuming the software was cloned from this github repository, it is possible to use the included script
npm run update
which pulls the latest stable version of digital-signage from github, installs dependencies and re-builds the software.
Features
- ✅ Automatic refresh on content change (you should never need to touch a display once set up!)
- ✅ Totally modular, with a comprehensive widget management system (adding a widget is very simple!)
- ✅ Multiple built-in widgets to get you started:
-
✅ Slideshow widget

-
✅ Weather widget
-
✅ “Congratulations” widget

- ✅ Youtube embed widget
-
✅ Web (iframe) widget

-
✅ Standalone image widget
-
✅ Announcements widget

-
✅ List widget (can be used a directory, time sheet, etc.)
-
- ✅ Flexible, responsive widget grid that allows you to drag, drop and resize widgets
- ✅ Versatile slideshow system that allows multiple slideshows, multiple slide types (images, videos, youtube, web, etc.) inside the same display with variable durations, titles and descriptions for each slide!
- ✖ Support for multiple displays (in progress)
Adding a new widget
Given the highly modular structure of this program, implementing a new widget is a simple task! Simply follow these easy steps to get started:
- Create a new folder inside the
widgets/folder, name it according to your widget’s name
 /
  actions/
  api/
  assets/
  components/
  helpers/
  pages/
  styles/
  widgets/
    .
    .
    .
    (new) MyWidget/
    widget_list.js
    base_widget.js
    index.js
- Create an index file inside the newly created folder called
index.js(extending thebase_widgetclass) as follows:
import BaseWidget from '../base_widget'

export default class MyWidget extends BaseWidget {
  constructor() {
    super({
      name: 'MyWidget',
      version: '0.1',
      icon: ['my-icon'], // Shown in the admin panel
      defaultData: {
         // Your implementation here
      }
    })
  }
}
The widget’s icon should come from FontAwesome.
- Implement two
Reactcomponents:Options(renders the dialog that will allow the administrator to change the widget’s configuration) andWidget(renders the user-facing side widget that will be displayed on the TV), return them from getter functions that you add to yourindex.jsfile:
export default class MyWidget extends BaseWidget {
  // ...

  get Widget() {
    return (<div>Your implementation here</div>)
  }

  get Options() {
    return (<div>Your implementation here</div>)
  }

  // ...
}
- Finally, when done implementing the widget, register it by adding its folder’s name to the
widgets/widget_list.jsfile
module.exports = ['slideshow', 'weather', 'congrats', 'youtube', 'web',
    'image', 'list', 'announcement', /* new */ 'MyWidget']
- Restart the server to see the new widget appear on the administrator panel